
Introduction :
Drawing a mushroom can be a really fun relaxing and artistic task, allowing you to express your creativity and connect with nature. It doesn’t matter if you are an experienced artist or just a beginner this step by step guide will help you bring a mushroom to life. Just follow the following steps:
1. Gather your materials:
Start by assembling the essentials. You will need paper, a pencil, an eraser, and colored pencils or markers.
2. Observe and sketch the basic shape:
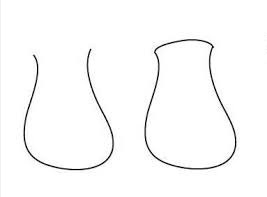
Begin your drawing by lightly sketching a single straight line or slightly curved line, which will serve as the stem of your mushroom. You can try experimenting with different stem lengths or shapes for a unique effect.
3. Add the cap:
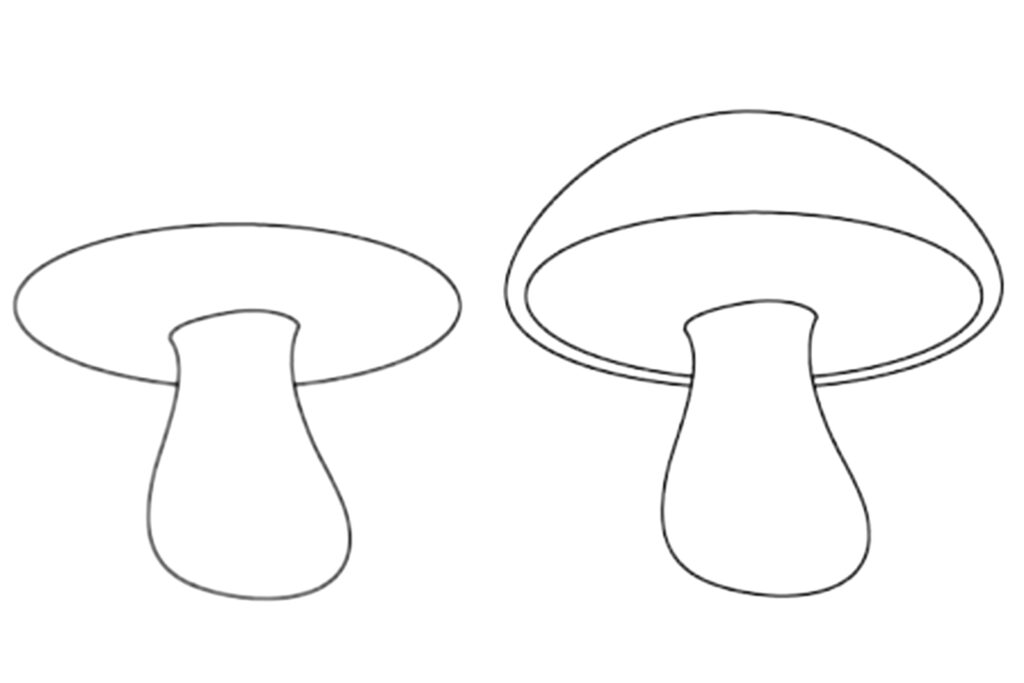
Above the stem, draw a round or oval shape to represent the cap.Remember, mushrooms come in all sorts of sizes and shapes, so allow your imagination to guide you as you create the cap.
4. Enhance the cap:
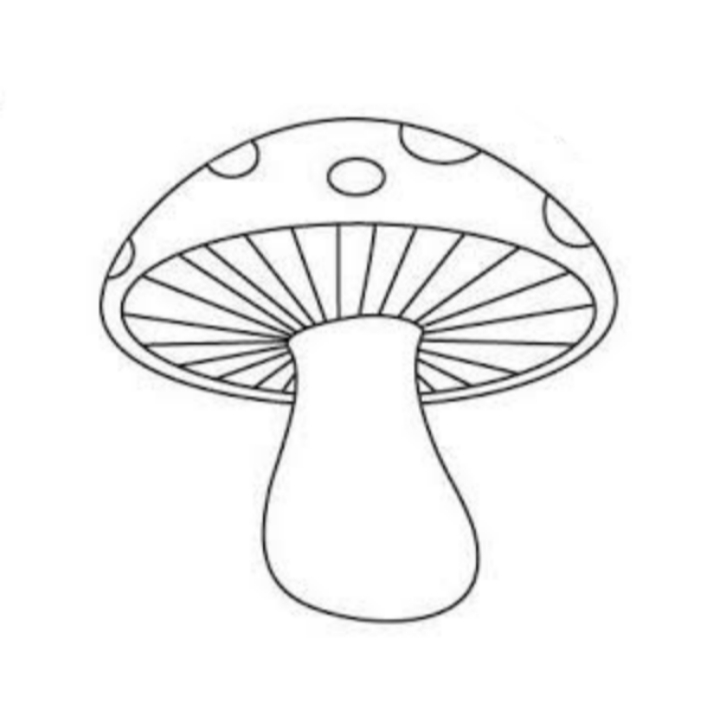
Depict the texture of the cap by adding lines or dots to represent gills or spots. Consider using different shades or patterns to make your mushroom stand out.
5. Shadows and highlights
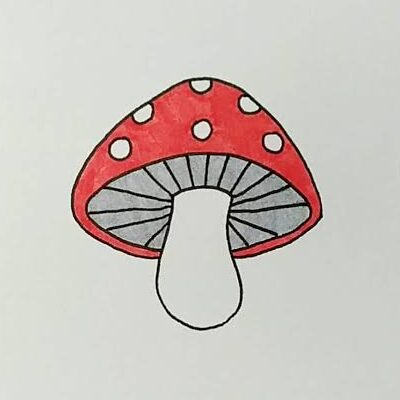
To make your mushroom truly come alive, add shading to create depth and dimension. Experimenting with shading will add realism and depth to your drawing.
6. Finishing touches
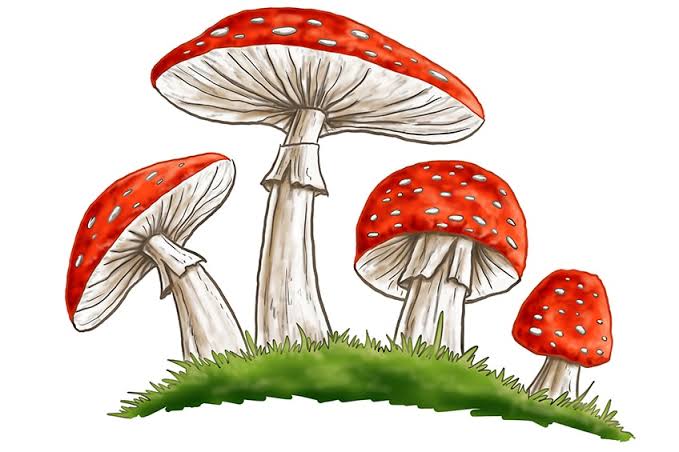
You can also add additional elements to your artwork, such as leaves, flowers, or other mushrooms to create an entire whimsical scene. You can draw whatever shape of mushroom and number of mushrooms you want. Get creative.
Conclusion :
Remember, practice makes everything perfect. With time and patience, your mushroom drawings will improve, and you’ll develop your own unique artistic style. Drawing mushrooms not only improves your artistic skills but also allows you to appreciate the intricate beauty of nature. For more related articles visit our website factsfair.