Introduction:
Painting cabinets is an excellent way to revitalize your space without breaking the bank. Whether you’re looking to update your kitchen, bathroom, or any other cabinetry in your home, a fresh coat of paint can work wonders. In this step-by-step guide, we will walk you through the process of how to paint cabinets, from preparation to the final brushstroke, ensuring a professional and long-lasting finish.
Step 1: Planning and Preparation

Before diving into the painting process, it’s crucial to plan and prepare adequately. Here’s what you need to do:
1.Assess the cabinets:
Determine the type of material your cabinets are made of, such as wood, laminate, or metal. This will help you choose the appropriate paint and primer.
2.Choose the right paint:
Opt for a high-quality, durable paint specifically designed for cabinets. Consider using a semi-gloss or satin finish, as they are easier to clean and more resistant to moisture and stains.
3. Gather supplies:
Apart from paint, you’ll need a screwdriver, sandpaper (medium and fine grit), painter’s tape, drop cloths, a paintbrush, a foam roller, a paint tray, and a primer (if necessary).
Step 2: Cabinet Preparation

Proper preparation is key to achieving a flawless finish. Follow these steps:
1.Remove cabinet doors and hardware:
Unscrew the cabinet doors and remove any handles, knobs, or hinges. Place them in a safe location for later.
2. Clean the surfaces:
Thoroughly clean the cabinets using a mild detergent and warm water. Remove any grease, grime, or dirt. Rinse and allow them to dry completely.
3. Sand the surfaces:
Lightly sand the cabinet surfaces using medium-grit sandpaper. This step helps the paint adhere better. Finish with fine-grit sandpaper to create a smooth surface.
4. Repair any imperfections:
Fill in any holes, dents, or scratches with wood filler or putty. Sand the repaired areas once they are dry.
Step 3: Priming the Cabinets

Priming is essential, especially if you’re painting over a dark or glossy surface. Follow these steps:
- Apply painter’s tape:
Use painter’s tape to protect any areas you don’t want to paint, such as walls or countertops.
2. Apply primer (if necessary):
If your cabinets are made of bare wood or have a glossy finish, apply a coat of primer using a brush or foam roller. Allow it to dry according to the manufacturer’s instructions.
Step 4: Painting the Cabinets

Now comes the exciting part – painting the cabinets. Follow these steps for a professional-looking finish:
- Start with the cabinet frames:
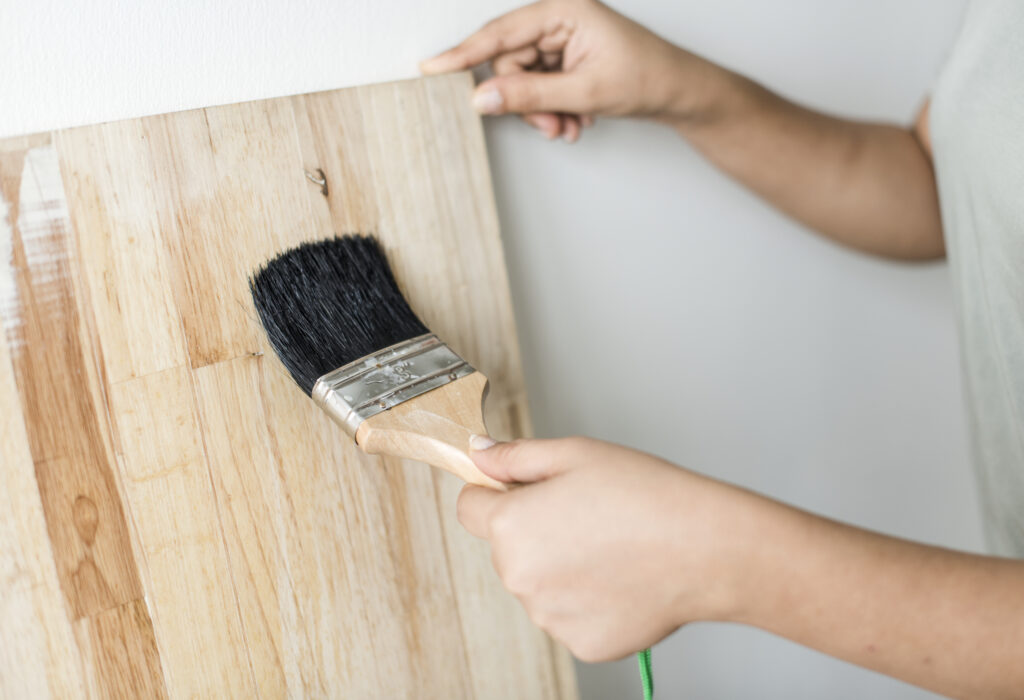
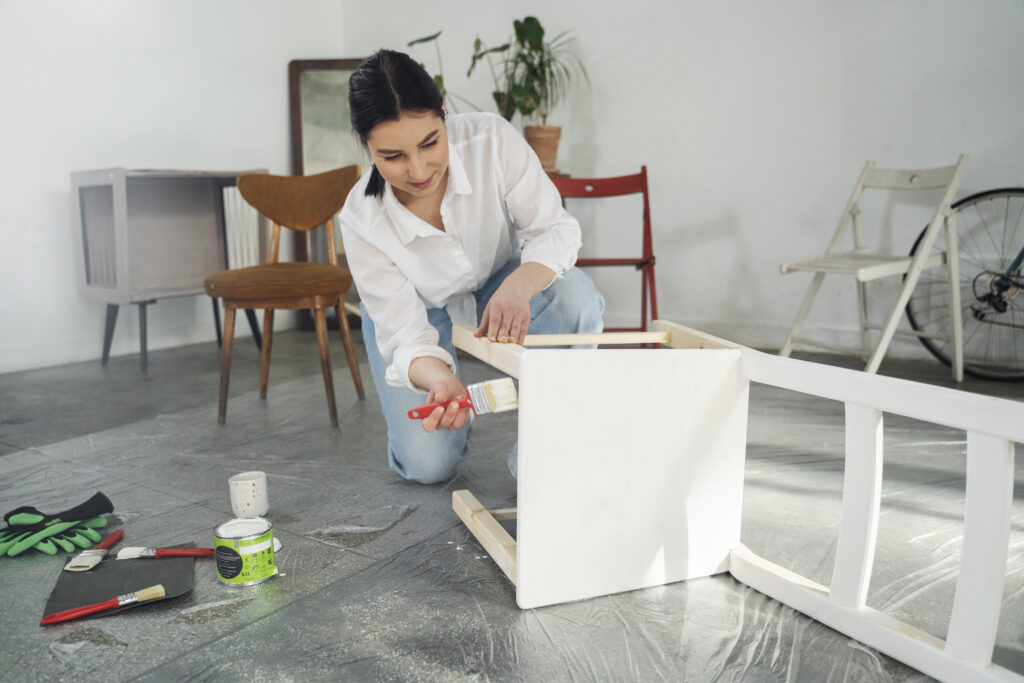
Using a brush or foam roller, apply paint to the cabinet frames, working in smooth, even strokes. Allow the first coat to dry completely before applying a second coat if needed.
2. Paint the cabinet doors:
Lay the cabinet doors flat on a drop cloth or workbench. Apply paint to the doors, following the wood grain, using a brush or foam roller. Allow the first coat to dry, then apply a second coat if necessary. Let it dry: Allow the cabinets and doors to dry completely before reattaching the hardware and reinstalling them.
Step 5: Finishing Touches
To ensure a long-lasting and polished look, complete the following steps: Reattach hardware:
Once the paint is dry, reattach the cabinet doors using the original hardware or new knobs and hinges for a fresh look. Clean up: Remove any painter’s tape and clean up your workspace. Dispose of any used materials responsibly.
Conclusion:
Painting cabinets is a rewarding and cost-effective way to transform your space. By following this step-by-step guide, you can achieve professional-looking results and breathe new life into your cabinets. Remember, proper planning, preparation, and attention to detail are key to a successful cabinet painting project. So, grab your paintbrush and get ready to enjoy the beauty of your newly painted cabinets! Discover fascinating facts and interesting information at FactsFair explore a wide range of topics start your journey of knowledge today!
