
Introduction
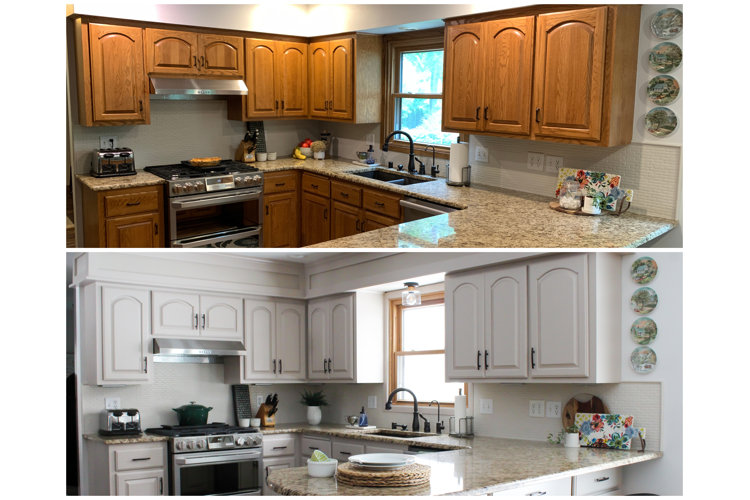
Kitchen cabinets play a significant role in enhancing the overall aesthetics of a kitchen. Painting kitchen cabinets provides an excellent alternative to costly cabinet replacements, allowing you to achieve a fresh and updated look.In this artricle you will learn how to paint kitchen paint.
Preparing for the Project
Assessing the Condition of the Cabinets
Carefully evaluate the current condition of your cabinets to determine if they are suitable for painting. Address any structural issues or damages before proceeding with the painting project.
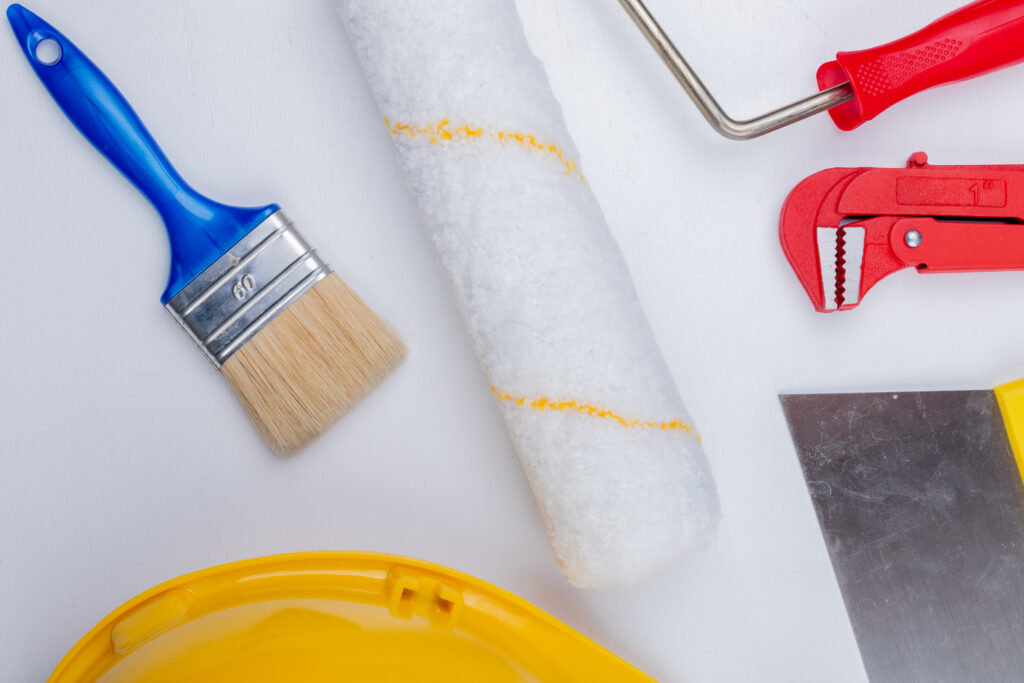
Gathering Necessary Materials and Tools
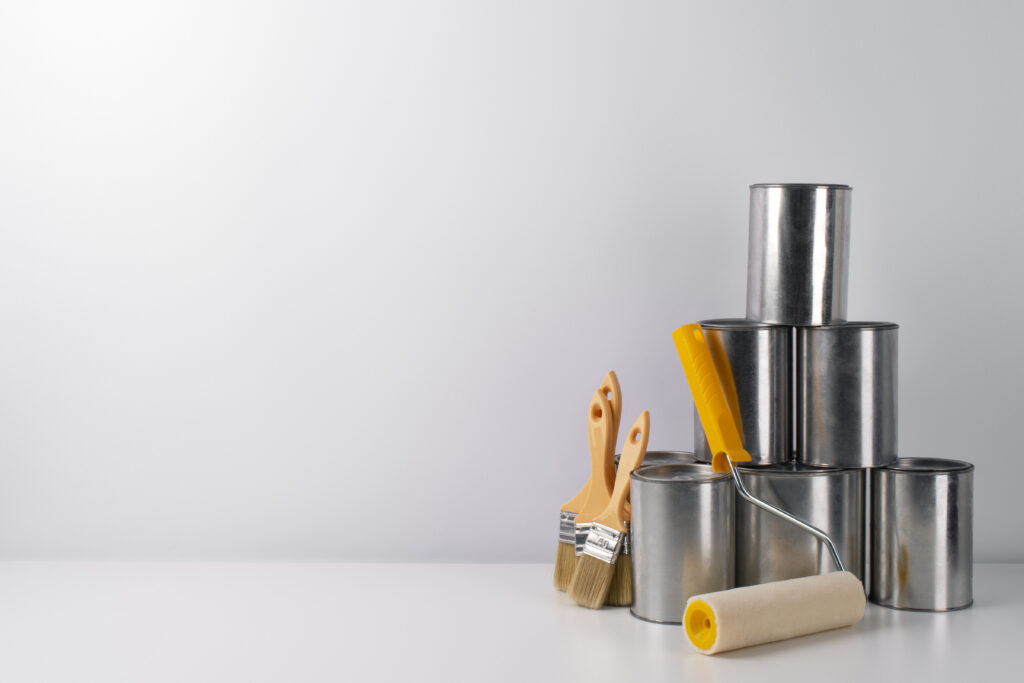
Acquire the essential materials and tools for the task, including paint, brushes or rollers, sandpaper, cleaning supplies, painter’s tape, aand protective equipment. Ensure you have ample quantities of each item to avoid interruptions during the process.
Choosing the Right Type of Paint for Kitchen Cabinets
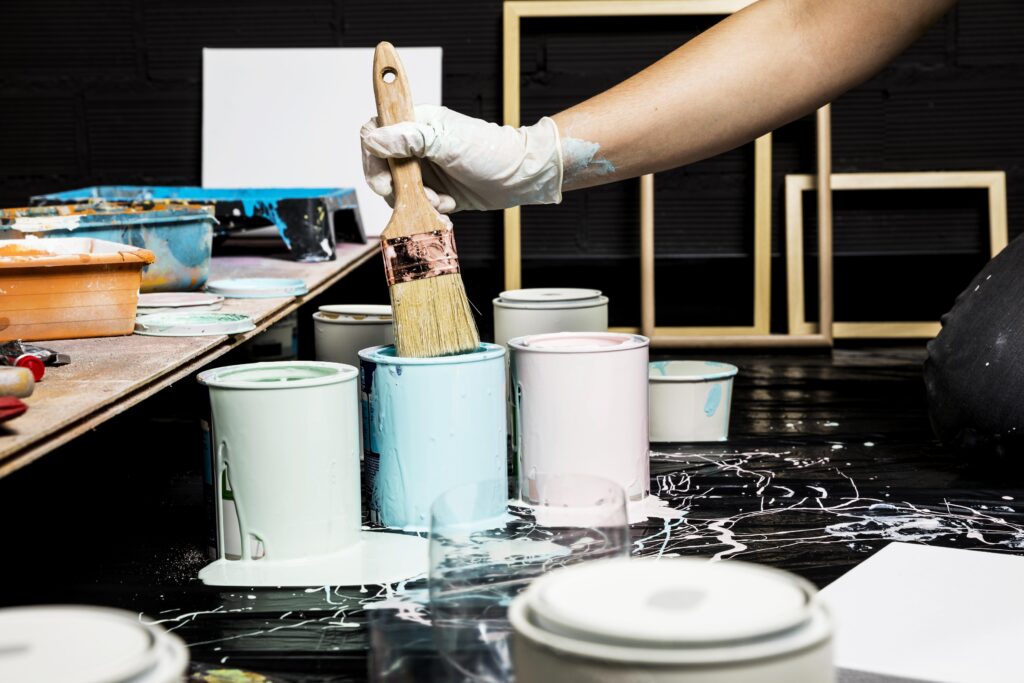
Selecting the appropriate paint is crucial for achieving a durable and professional finish. Opt for high-quality, water-based paint or oil-based enamel paints specifically formulated for cabinets. Consider factors such as durability, ease of application, and the desired finish when making your selection.
Planning and Design
Determining the Desired Outcome and Style
Define your desired outcome, whether it’s transforming the cabinets with a trendy, modern look or preserving a classic aesthetic. Consider the overall style of your kitchen to ensure that the new cabinet color complements the existing elements.
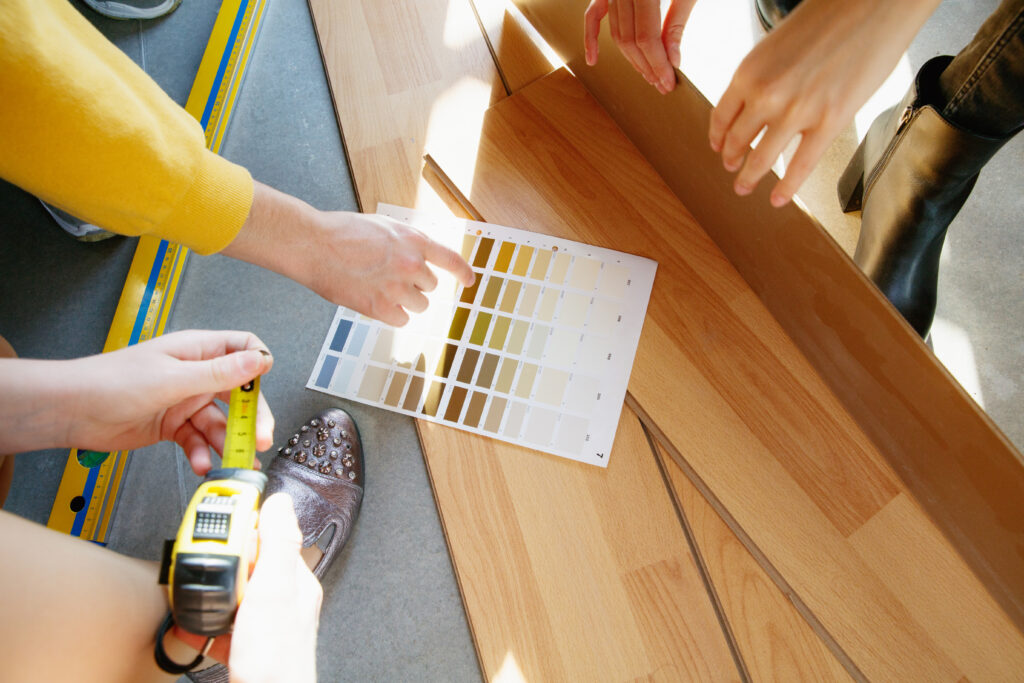
Selecting Suitable Colors and Finishes
Explore different color options, taking into account both personal preference and the atmosphere you want to create. Consider finishes like matte, satin, or glossy, depending on your desired level of sheen and durability.
Creating a Cabinet Painting Plan
Develop a comprehensive plan that outlines your step-by-step approach to painting the cabinets. Organize tasks, determine the order of painting (frames, doors, drawers), and establish a realistic timeline for completion.
Removing Cabinet Hardware and Doors
Carefully Removing Cabinet Doors and Hardware Prior to painting, remove all cabinet doors, drawers, and hardware such as knobs and hinges. Take care to avoid damaging the cabinets or the hardware during the removal process.
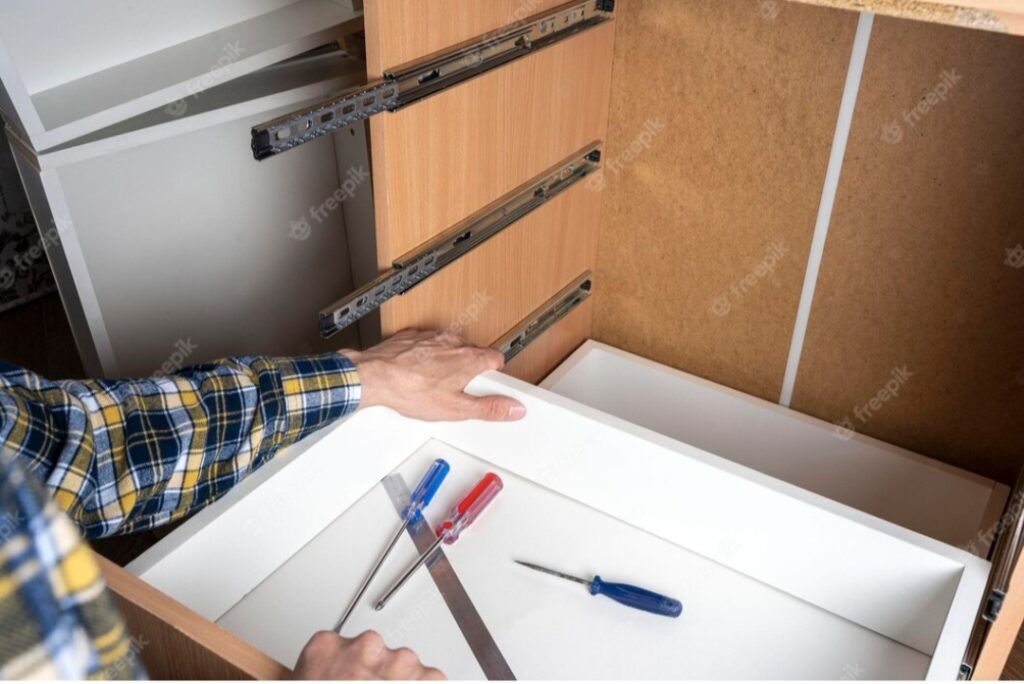
Organizing and Labelling the Removed Parts
To facilitate reassembly, label each door, drawer, and corresponding hardware, ensuring everything can be effortlessly returned to its proper place.
Cleaning and Sanding
Thoroughly Cleaning Cabinet Surfaces
Clean all surfaces of the cabinets using a mild detergent and warm water, removing grease, grime, and dirt.
Rinse and dry the cabinets completely before proceeding.
Sanding to Create a Smooth Base for Paint Adhesion Use fine grit sandpaper to lightly sand the cabinet surfaces, creating a smooth and even base for the paint to adhere to.
Ensure you reach all nooks and crannies, including corners and edges.
Repairing and Priming
Repairing any Scratches, Dents, or Holes Address any imperfections on the cabinet surfaces by filling scratches, dents, or holes with wood filler or putty.
Allow the repaired areas to dry thoroughly before proceeding.
Applying Primer to Enhance Paint Adhesion and Durability Apply a coat of primer specifically designed for cabinets, ensuring even coverage.
Primer enhances paint adhesion, durability, and helps achieve a uniform finish.
Painting Techniques for Cabinets
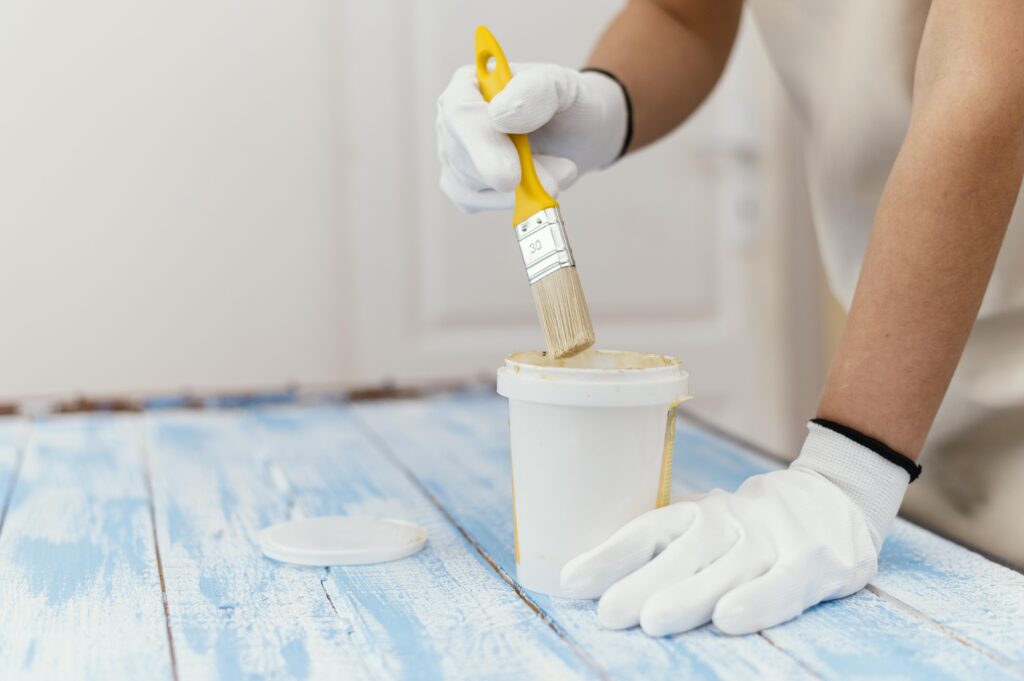
Choosing the Appropriate Brushes or Rollers Depending on your desired finish, select high-quality brushes or rollers suitable for the type of paint chosen.
Brushes with synthetic bristles are ideal for a smooth and controlled application.
Mastering Brush Strokes and Roller
Application Employ long, smooth brush strokes or controlled roller application to achieve an even and streak-free finish. Maintain a consistent pressure throughout the painting process for uniformity.
Thin coats ensure better adhesion, reduce the risk of drips or sags, and promote a more durable finish.
Painting the Cabinet Frames
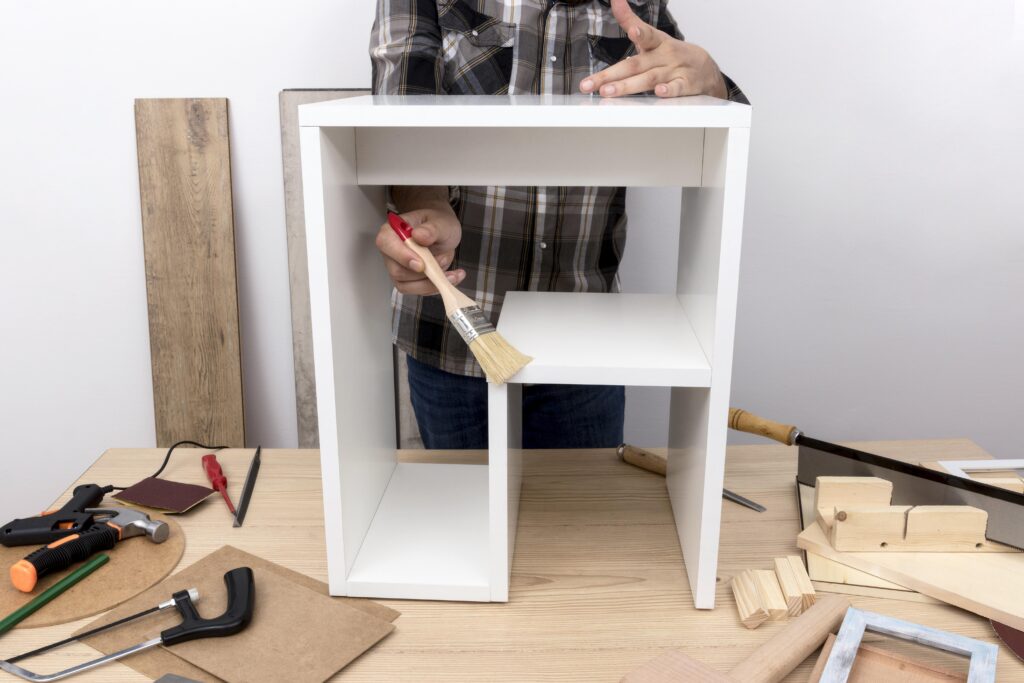
Applying Paint to Cabinet Frames Begin by painting the cabinet frames, starting from the top and working your way down.
Use smooth, overlapping brush strokes or a roller for an even application.
Achieving Consistent Coverage and Smooth Finishes Focus on achieving consistent coverage across the entire surface of each cabinet frame.
Ensure there are no visible brush marks or roller lines, regularly inspecting for any missed spots.
Painting Cabinet Doors
Preparing Cabinet Doors for Paint Application Lay the cabinet doors on a clean, flat surface and remove any loose dirt or debris.
Clean the doors using a damp cloth or sponge, dry thoroughly before applying paint.
Applying Paint to Cabinet Doors Begin painting the cabinet doors by starting with the recessed areas, such as panel frames or decorative details. Gradually move to the raised areas, ensuring an even application of paint.
Avoiding Common Errors in Door Painting Avoid excessive paint application that could lead to drips or visible brush strokes. Check for any uneven areas or build-up of paint that may require sanding for a smooth finish.
Cabinet Drawers and Interior
Strategies for Painting Cabinet Drawer Fronts Remove drawer fronts and follow the same preparations and painting techniques used for cabinet doors. Ensure thorough coverage and equal attention to detail when painting drawer fronts.
Painting the Cabinet Drawer Interiors If desired, paint the interior of the cabinet drawers to achieve a cohesive look. Ensure sufficient drying time before reinstalling the drawers.
Drying and Curing
Allowing Sufficient Drying Time Between Coats Follow the manufacturer’s recommendations for drying time between coats of paint. Rushing the process may compromise the quality and durability of the finish.
Creating a Suitable Drying Environment
Provide adequate ventilation and maintain consistent temperature and humidity levels during the drying process. Avoid exposing freshly painted cabinets to extreme heat, cold, or excessive moisture.
Reassembling Cabinet Doors and Hardware
Installing Cabinet Doors Back in Place Once the painted surfaces are dry, carefully reattach the cabinet doors using the labelled hardware. Ensure proper alignment and functionality before moving on to reattaching the hardware.
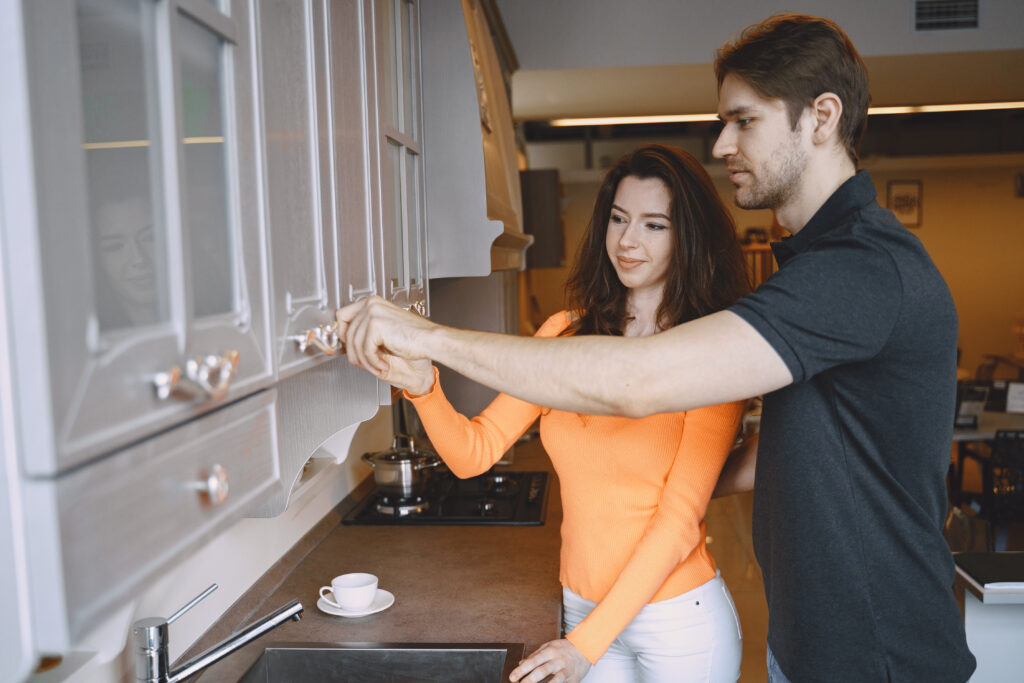
Reattaching Cabinet Hardware Correctly
Follow the appropriate instructions for reinstalling cabinet hardware, such as knobs, handles, and hinges. Ensure a secure and proper fit for functional and aesthetic purposes. Cabinet Finishing Touches Touching Up Any Imperfections Inspect the painted cabinets for any imperfections or areas in need of touch-ups. Address these areas by applying additional paint and blending it seamlessly with the existing finish.
Adding Decorative Elements (Optional)
Consider adding decorative elements such as moulding, trim, or hardware accents to further enhance the appearance of the painted cabinets. Ensure that any additional elements are securely attached and align with the desired style.
Cleaning and Maintenance
Proper Cleaning Routines for Painted Cabinets Remove surface dirt and stains gently using a damp cloth or sponge with mild soap or detergent. Avoid abrasive cleaners or scrub brushes that can damage the painted surfaces.
Summary and Final Tips
Recap of the Cabinet Painting Process Review the entire cabinet painting process, emphasizing the importance of thorough preparation, proper application techniques, and post-painting care.
Additional Tips for a Successful Outcome
Work in a well-ventilated area to prevent inhaling paint fumes. Take breaks as needed to maintain focus and concentration during the painting process. Follow safety guidelines, including wearing protective gear such as gloves and goggles.
Conclusion
A satisfying kitchen transformation can be achieved by painting the cabinets, updating the overall look, and avoiding the need for costly replacements. Through proper planning, preparation, and execution of the painting process, you can achieve impressive results that enhance the aesthetics of your kitchen. Discover fascinating facts and interesting information at FactsFair explore a wide range of topics start your journey of knowledge today!