
Introduction
The beauty of painting laminate cabinets
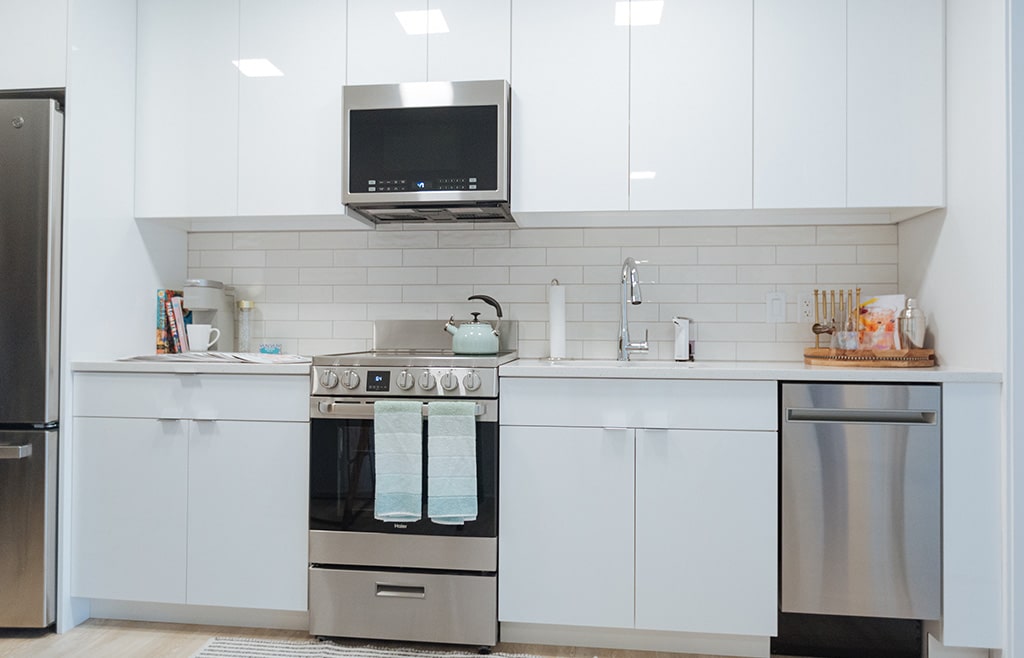
- Laminate cabinets are known for their sleek and modern appearance.
- They offer a wide range of colors and patterns that can complement any kitchen style.
- Their smooth surface is easy to clean and maintain.
Why repainting is a cost-effective option
- Rather than replacing your laminate cabinets, repainting them can give your kitchen a fresh new look at a fraction of the cost.
- It allows you to update the color and style without the hassle of a full renovation.
Key benefits of painting laminate cabinets
- Painting laminate cabinets provides a budget-friendly solution to transform your kitchen.
- It allows you to customize the color and finish according to your preferences.
- Repainting also provides an opportunity to repair any damage or imperfections on the cabinets.
Understanding Laminate Cabinets
What is laminate?
- Laminate is a synthetic material made by layering paper or fabric with resin and applying it to a substrate, such as particleboard or MDF.
- It is known for its durability, resistance to moisture, and ease of cleaning.
Advantages and disadvantages of laminate cabinets Advantages:
- Laminate cabinets are affordable compared to solid wood.
- They are resistant to stains and scratches.
- The wide array of colors and patterns available in laminate allows for endless design possibilities.
Disadvantages:
- Laminate cabinets cannot be refinished like solid wood cabinets.
- They may chip or peel over time, especially in high-use areas.
Evaluating the condition of your cabinets
- Before painting your laminate cabinets, assess their overall condition.
- Check for any loose or damaged edges, cracks, or delamination.
- Ensure that the cabinets are structurally sound to support the painting process.
Preparation
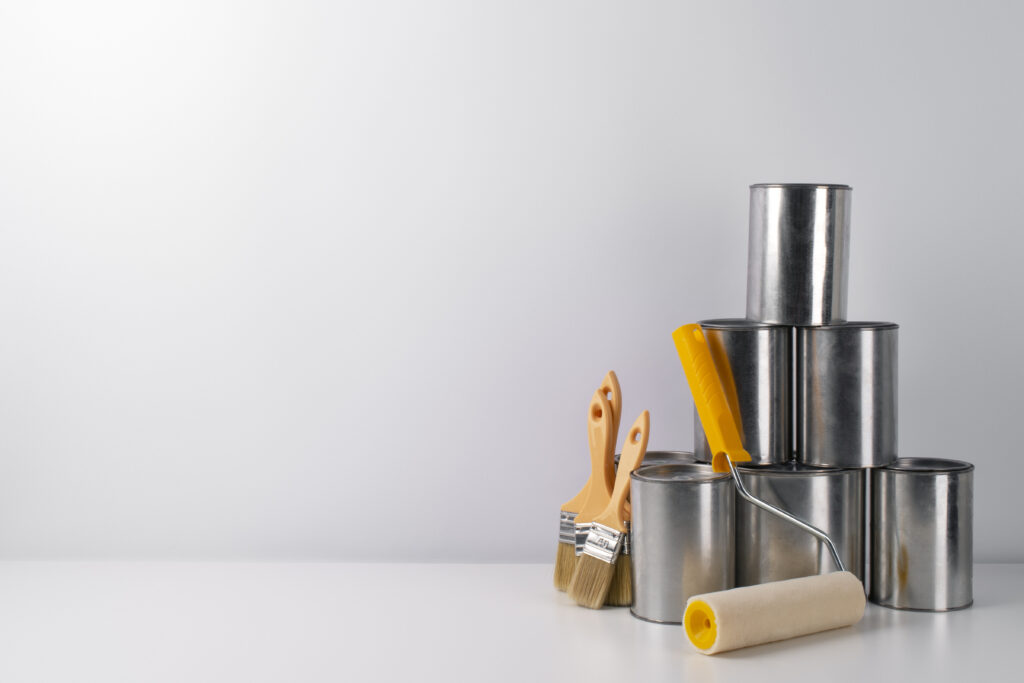
Assembling the necessary tools and materials
- A high-quality paint roller, brushes, or a paint sprayer.
- Sandpaper of various grits (120, 220, and 320) for surface preparation.
- Primer specifically designed for laminate cabinets.
- A good-quality paint that adheres well to laminate.
- Cleaning supplies such as degreaser, mild detergent, and clean cloths.
- Protective gear, including gloves and goggles, to ensure your safety.
Removing cabinet doors and hardware
- Carefully unscrew and remove all cabinet doors, drawers, and hardware.
- Place them in a well-ventilated area where they can be worked on separately.
Cleaning and degreasing the surfaces
- Thoroughly clean the cabinet surfaces using a mild detergent or degreaser.
- Remove any grease, dirt, or residue that may affect the adhesion of the paint.
Repairing any damages or imperfections
- Fill any cracks, scratches, or imperfections with a suitable wood filler.
- Use a putty knife to smooth out the filler and ensure a seamless finish.
Choosing the Right Paint and Supplies
Exploring different paint types for laminate
- Look for paint specifically designed for laminate surfaces.
- Acrylic latex paint is a popular choice that offers durability and easy cleanup.
- Avoid using oil-based paints as they may not adhere well to laminate.
Selecting an appropriate primer
- Use a primer formulated for laminate surfaces to ensure proper adhesion.
- Look for a primer specifically designed to prevent chipping or peeling of the paint.
Essential supplies for flawless results
- A high-quality brush or roller with suitable thickness for even application.
- Painter’s tape to protect any areas that you do not want to be painted.
- Drop cloths or plastic sheets to protect your surrounding surfaces from paint drips.
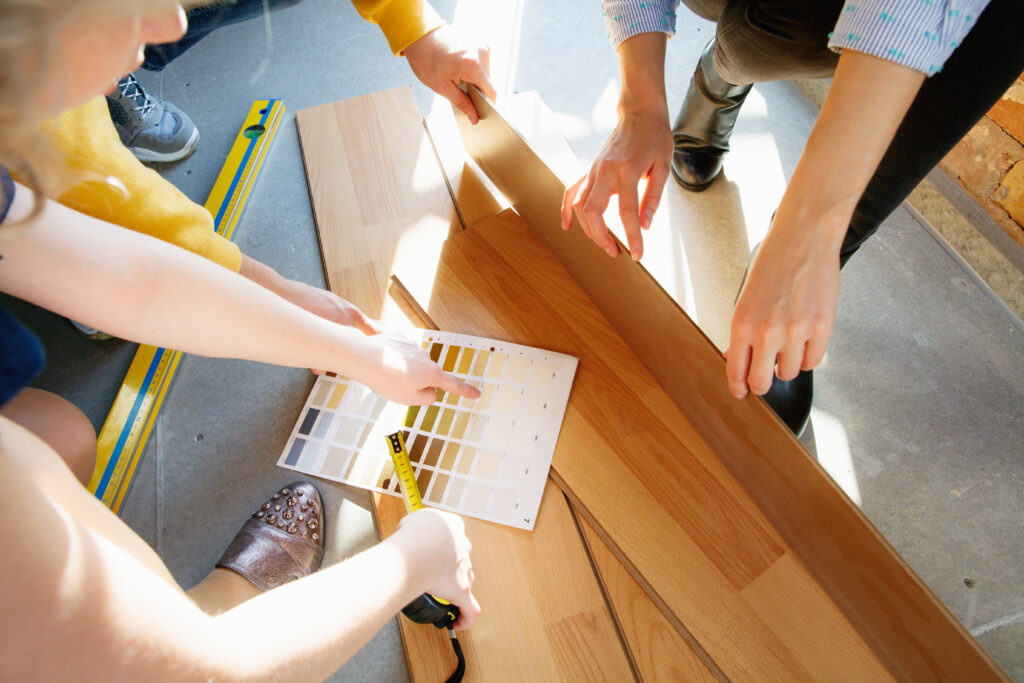
Planning Your Color Palette
Determining the desired style and atmosphere
- Consider the overall aesthetic you want to achieve in your kitchen.
- Determine whether you prefer a modern, classic, or rustic look.
Considerations for matching existing décor
- Take into account the existing color scheme and style of your kitchen.
- Choose a paint color that complements your countertops, flooring, and other elements.
Samples and test patches
- Before committing to a color, apply small samples or test patches on a hidden area of the cabinetry.
- Observe how the color looks under different lighting conditions to ensure it meets your expectations.
Prepping the Cabinets
Sanding techniques for the best adhesion
- Start by lightly sanding the cabinet surfaces with a 120-grit sandpaper.
- This will help the primer and paint adhere better to the laminate.
Filling and smoothing out imperfections
- Fill any remaining imperfections with wood filler or putty.
- Use finer-grit sandpaper, such as a 220-grit or 320-grit, to smooth out the patched areas.
Cleaning off dust and debris
- After sanding, wipe down the cabinets to remove any dust or debris.
- A clean, lint-free cloth or a tack cloth works well for this purpose.
Priming the Surfaces
Importance of using a high-quality primer
- A good-quality primer is essential for proper adhesion and long-lasting results.
- It creates a smooth and even base for the paint to adhere to.
Suitable priming techniques for laminate
- Apply the primer using a brush, roller, or sprayer.
- Ensure even coverage and smooth out any drips or brush marks.
Achieving a smooth and even base
- Allow the primer to dry completely according to the manufacturer’s instructions.
- Lightly sand the primed surfaces with a fine-grit sandpaper to ensure a smooth finish.
Applying the Paint
Brushing, rolling, or spraying: Which technique to choose?
- Brushing and rolling are suitable for small areas and detailed work.
- Spraying is ideal for achieving a flawless, professional finish on larger surfaces.
Achieving professional-looking results with brushes
- Use a high-quality brush with synthetic bristles to minimize brushstrokes.
- Apply thin coats of paint, working in the direction of the wood grain for a smooth finish.
Properly using a paint sprayer for an immaculate finish
- Follow the manufacturer’s instructions for your specific paint sprayer.
- Keep the sprayer moving at a consistent speed and distance for even coverage.
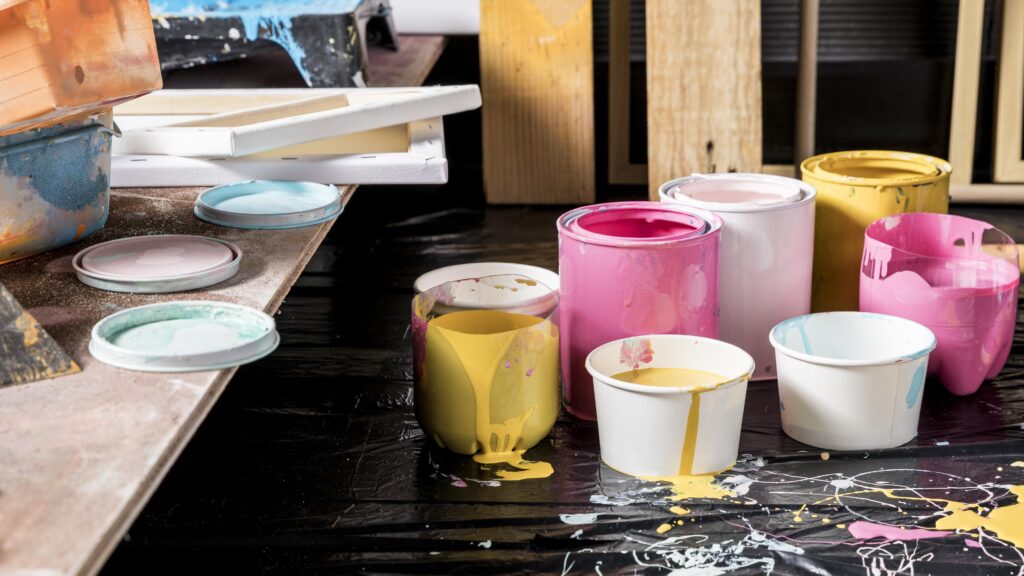
Adding Depth and Texture
Exploring creative techniques (e.g., distressing, antiquing)
- For a unique look, consider distressing the cabinets by sanding or using a wire brush to create a worn, vintage appearance.
- Antiquing techniques, such as glazing or applying a colored wax, can add depth and character to your cabinets.
Stenciling and adding patterns for visual interest
- Use stencils to create patterns or designs on select areas of the cabinets.
- Experiment with different colors or metallic finishes for a personalized touch.
Drying and Curing
Understanding drying time for different paints
- The drying time can vary depending on the type of paint used.
- Follow the paint manufacturer’s instructions for the recommended drying time.
Creating optimal conditions for successful curing
- Allow sufficient time for the paint to cure before reassembling the cabinets.
- Ensure good air circulation and avoid exposing the painted surfaces to excessive moisture or heat.
Reassembling and Installing
Reattach cabinet doors and hardware
- Once the paint is fully dried and cured, reattach the cabinet doors and hardware.
- Ensure proper alignment and tight installation to achieve a polished look.
Adjustments and alignment
- Make any necessary adjustments to ensure that the cabinet doors hang straight and close properly.
- Use a screwdriver to tighten or loosen screws as needed.
Tips for a seamless installation
- Double-check that all components are securely tightened.
- Verify that the doors open and close smoothly without any sticking or rubbing.
Finishing Touches
Installing new handles or knobs
- Consider updating the hardware to complete the transformation.
- Choose handles or knobs that complement the style and color of your newly painted cabinets.
Applying protective finishes
- Apply a clear protective topcoat to seal and protect the painted surfaces.
- Look for a finish that is specifically designed for use on cabinets to ensure durability.
Enhancing durability and longevity
- Avoid using harsh abrasives or cleaners that may damage the painted surface.
- Regularly clean the cabinets using mild, non-abrasive cleaners to preserve their appearance.
Maintenance and Cleaning
Proper care to preserve the newly painted cabinets
- Wipe down the cabinets regularly with a damp cloth to remove dust and spills.
- Avoid using abrasive cleaners or scrubbing pads that may scratch or dull the paint.
Recommended cleaning methods and products
- Use mild detergent or specialized cabinet cleaners to remove grease and grime.
- Microfiber cloths or soft sponges are gentle options for cleaning without damaging the paint.
Summary
Recap of the step-by-step process
- Laminate cabinets offer a cost-effective way to revamp your kitchen.
- Evaluate the condition of your cabinets and prepare them properly.
- Choose the right paint, primer, and supplies for a flawless finish.
- Plan your color palette and consider creative techniques for added visual interest.
- Allow sufficient drying and curing time before reassembling and installing the cabinets.
- Apply finishing touches and maintain the painted cabinets for long-lasting results.
Emphasizing the transformation achieved with painting laminate cabinets
- Painting laminate cabinets can breathe new life into your kitchen.
- It allows for endless design possibilities to match your personal style and preferences.
- With proper techniques and care, the painted finish can provide a beautiful and durable solution for years to come.
Frequently Asked Questions (FAQs)
Can I paint over laminate cabinets without sanding?
- Sanding is recommended to ensure proper adhesion of the paint to the laminate surface.
- It creates a roughened texture that allows the paint to bond effectively.
How long will the painted finish last on laminate cabinets?
- The longevity of the painted finish depends on various factors such as paint quality, usage, and maintenance.
- With proper preparation and care, a well-painted laminate finish can last for many years.
Can I change the color of my laminate cabinets more than once?
- Yes, you can change the color of your laminate cabinets more than once.
- Ensure that you properly prepare the cabinets and follow the same steps outlined in this guide.
Are there any alternatives to painting laminate cabinets?
- If repainting is not an option, you can consider other alternatives such as refacing or replacing the doors and drawer fronts.
- However, these alternatives may involve more time, effort, and cost compared to repainting.
How can I repair chipped or damaged paint on laminate cabinets?
- To repair chipped or damaged paint, lightly sand the affected area and touch up with the same paint used for the cabinets.
- Take care to blend the touch-up paint seamlessly for a seamless finish.
Discover fascinating facts and interesting information at FactsFair explore a wide range of topics start your journey of knowledge today!