
Introduction
If you’re looking to give your kitchen a look, without breaking the bank painting your tile backsplash can be a cost imaginative solution that completely transforms the entire space. By applying a layer of paint you can revive your kitchen. Add a personal touch by customizing the colors to match your style. In this article, we’ll provide you with a guide, on how to paint your tile backsplash covering everything from preparation to those finishing touches.
Table of Contents
- Gathering Supplies
- Preparation
- Choosing the Colors
- Taping and Protecting
- Painting Techniques
- Applying the Paint
- Creating Patterns
- Drying and Curing
- Finishing Touches
- Maintenance
- Inspiration Gallery
1. Gathering Supplies
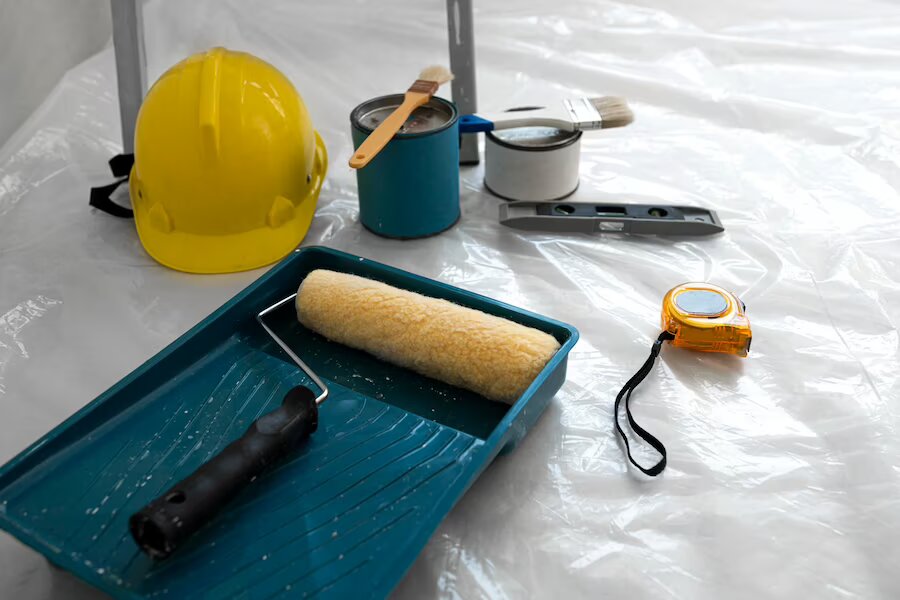
Before you begin painting make sure you have all the supplies. Start by selecting the type of paint, for tiles. Acrylic or epoxy paints are commonly suggested due to their durability and ability to resist moisture. Additionally gather items, like painter’s tape, sandpaper, primer, brushes, and a drop cloth to safeguard your kitchen surfaces
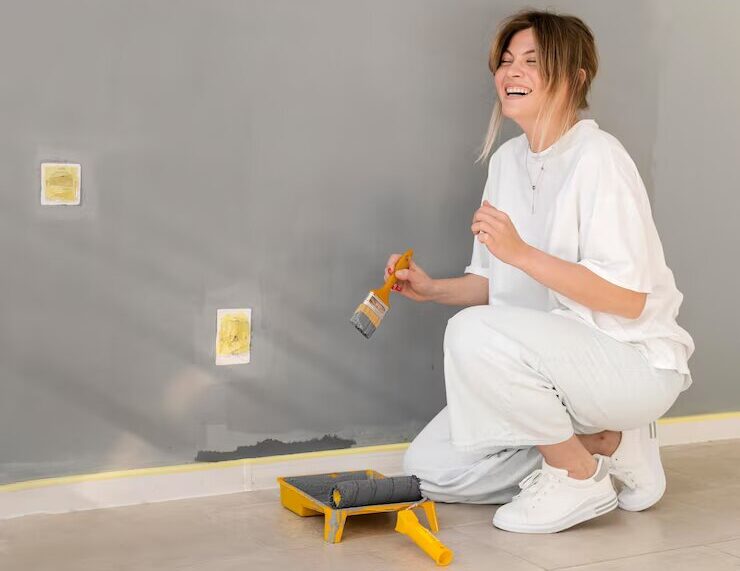
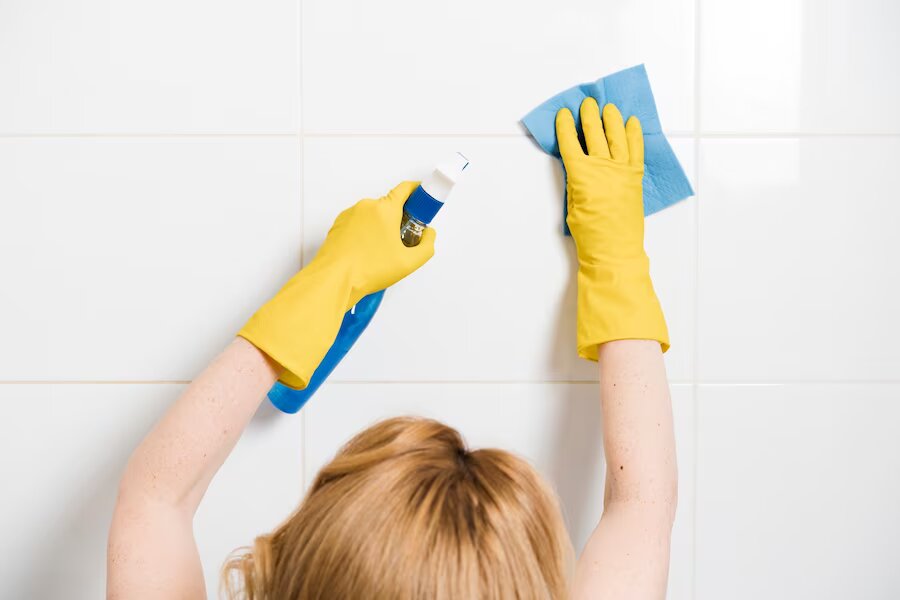
2. Preparation
For a painting project to be successful it’s important to start with a surface. Begin by cleaning your tile backsplash to get rid of any grease, dirt or residues that might make it difficult for the paint to stick. Gently sand the tiles to create a texture as this will help the primer adhere more effectively. Apply a tile primer to improve paint adhesion and achieve a finish.
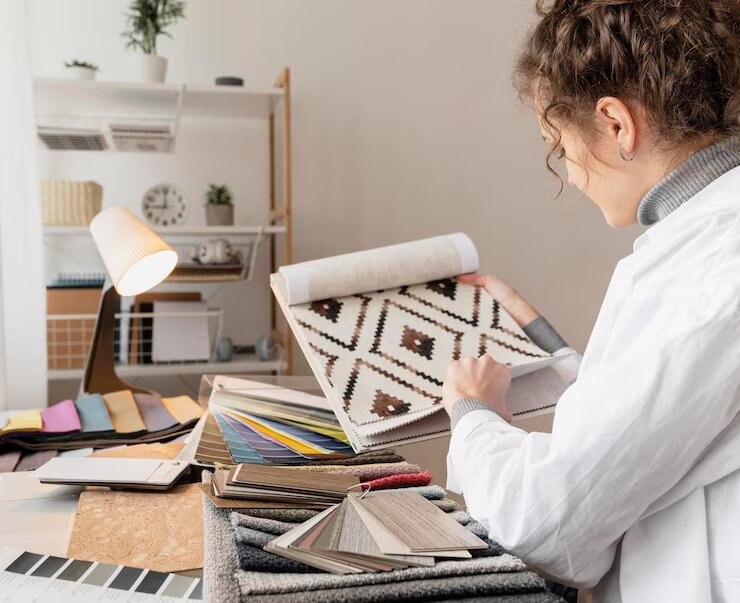
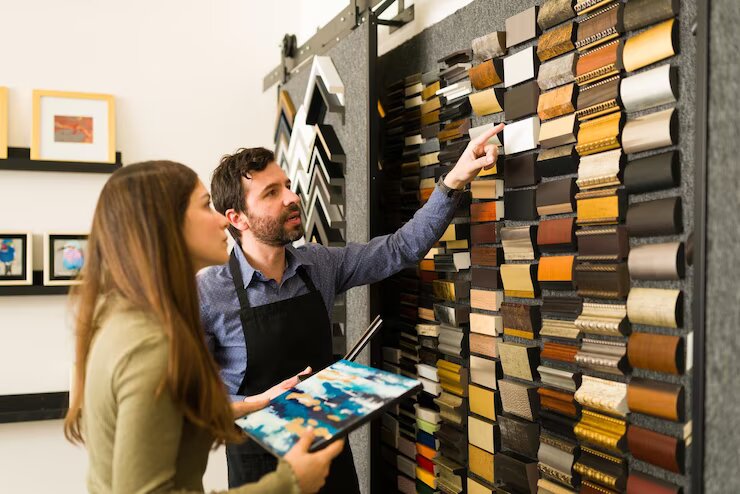
3. Choosing the Colors

When selecting paint colors, consider the overall theme of your kitchen. Coordinate the colors of the backsplash with your kitchen decor to create a harmonious look. You can also use this opportunity to introduce accent colors or make a focal point with a bold hue that complements the rest of the space.
4. Taping and Protecting
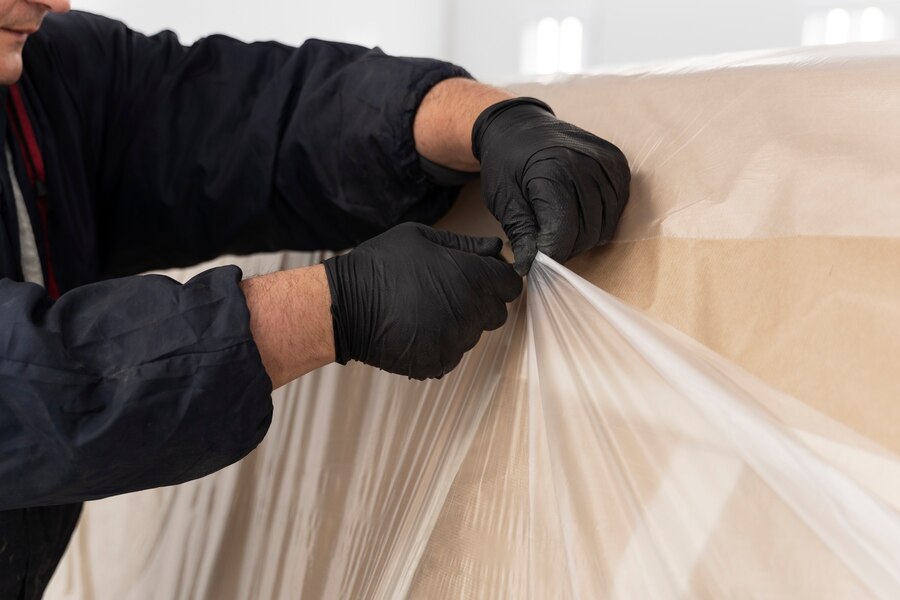
To achieve clean and crisp edges:
- Carefully tape off the areas surrounding your backsplash, including the countertops and cabinets.
- Use painter’s tape for this purpose.
- Lay down a drop cloth to prevent accidental spills or drips on your kitchen surfaces.
5. Painting Techniques
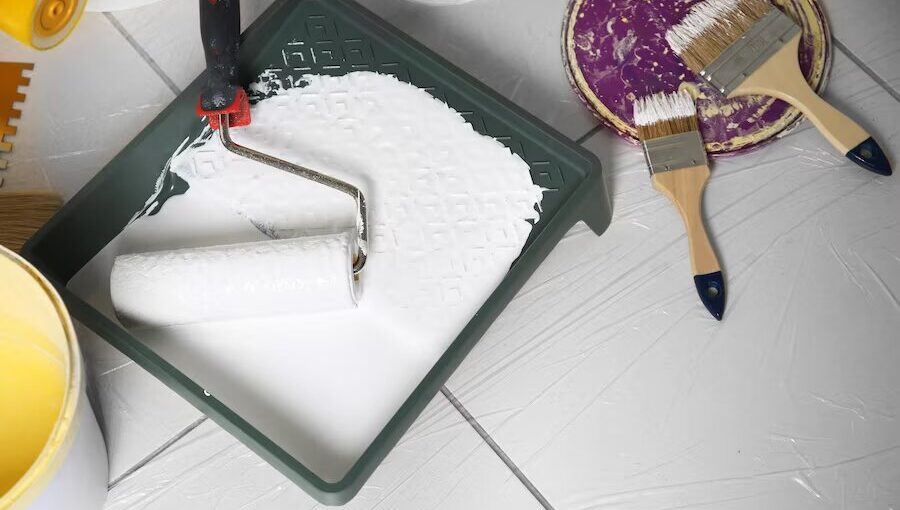
Decide whether you’ll use a paintbrush or sprayer for the project. Both methods have their merits, but using a high-quality brush often results in better control, especially around edges and corners. Apply thin and even coats of paint to avoid drips and ensure a smooth finish.
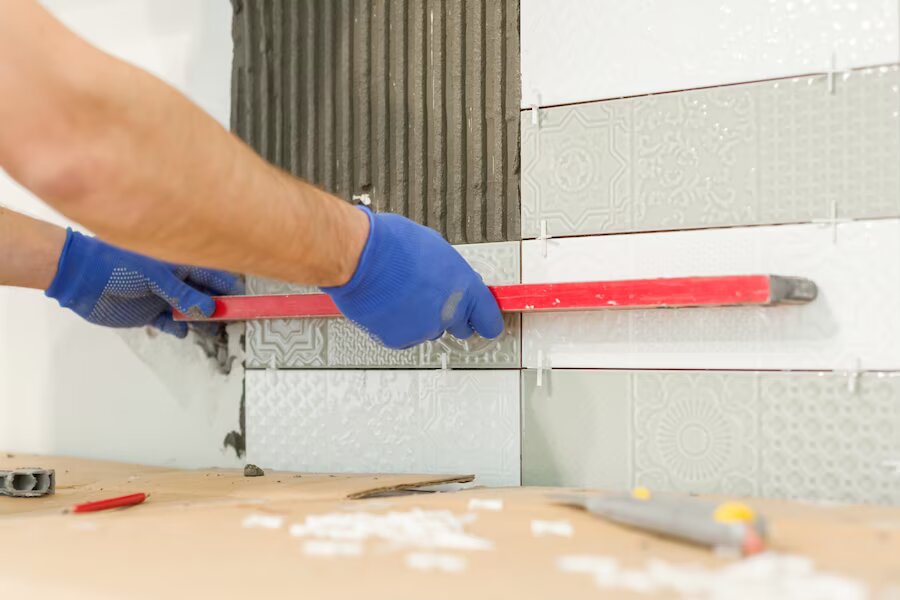
6. Applying the Paint
Start by painting the edges and corners of the backsplash with a brush. Once the edges are done, paint the larger surface areas with a roller or brush. Apply multiple thin coats, allowing each coat to dry before applying the next. This will help you achieve a more professional finish.
7. Creating Patterns
Get creative with patterns and designs to elevate the look of your backsplash. Explore the option of utilizing stencils or templates for crafting elaborate and detailed designs. Geometric patterns are popular, adding a modern touch to your kitchen space.
8. Drying and Curing
After applying the final coat of paint:
- Allow ample time for drying.
- Follow the manufacturer’s recommendations for drying time, and ensure the area is well-ventilated.
- Allow the paint to cure for optimal longevity for a few days before exposing it to moisture.
9. Finishing Touches
Seal your painted backsplash with a clear, water-resistant sealant. This will protect the paint from water damage, stains, and wear. Once the adhesive is dry, reattach any fixtures, outlets, or covers that were removed before painting.
10. Maintenance
Regularly clean your painted backsplash with a mild household cleaner and a soft cloth. Avoid using abrasive materials that could damage the painted surface. In case of minor scratches or chips, keep a small amount of the original paint to touch up any imperfections.
11. Inspiration Gallery
Explore before-and-after photos of painted tile backsplashes to gather ideas for your project. From subtle monochromatic updates to vibrant and bold designs, these photos can inspire various design styles and color combinations.
Conclusion
Rejuvenate your kitchen with the joy of DIY tile backsplash painting by following these steps carefully and painting an eye-catching backsplash that matches its overall aesthetics. Be sure to enjoy every step as you create something truly personalized and unique for your space! Discover fascinating facts and interesting information at FactsFair explore a wide range of topics and start your journey of knowledge today!
FAQs
Can I paint over ceramic tiles?
Yes, you can paint over ceramic tiles to update their look and refresh your space.
What type of paint is best for tile backsplashes?
Acrylic or epoxy paints are commonly recommended for their durability and moisture resistance.
Do I need to sand the tiles before painting?
Rubbing the tiles slightly helps the primer adhere better and improves paint adhesion.
How do I ensure the paint adheres properly?
Proper cleaning, sanding, and using a quality primer are crucial to ensuring paint adhesion.
Can I change the painted design in the future?
You can repaint the tile backsplash if you update the design or colors.