Introduction
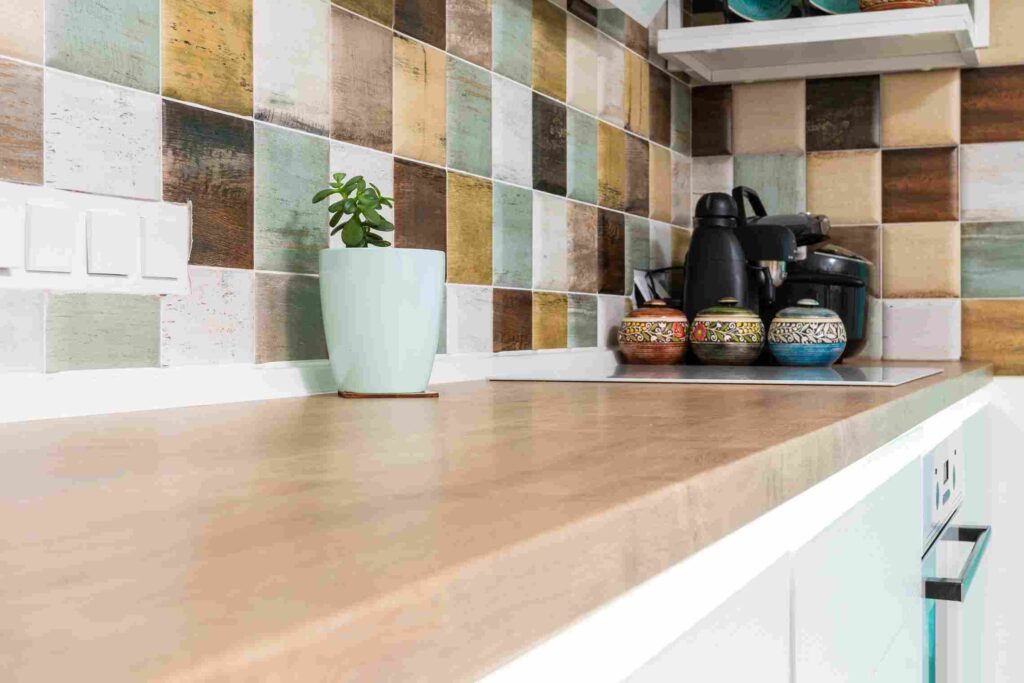
Tiling a backsplash is a creative and rewarding project that adds both aesthetics and functionality to your kitchen or bathroom. Whether you’re a DIY enthusiast or just getting started, our step-by-step guide will help you achieve professional-looking results in tile a Backsplash.
Gather Your Materials
Before you begin, gather the necessary materials:
- Tiles of your choice
- Tile adhesive and grout
- Notched trowel and rubber float
- Tile spacers
- Tile cutter or wet saw
- Measuring tape and level
- Sponge and buckets for water
- Grout sealer
Plan Your Tile Layout
Start by planning the layout of your tiles. Use this point to start your tiling, working outward to ensure balanced tile placement. Dry-lay the tiles to see how they fit and make any necessary adjustments.
Apply the Tile Adhesive
Using a notched trowel, apply tile adhesive to a small section of the wall. Hold the trowel at a 45-degree angle for even coverage. Work in small sections to prevent the adhesive from drying out before you place the tiles.
Cut Tiles for Edges and Outlets
For edges and outlets, you’ll likely need to cut tiles to fit. Measure and mark the tiles, then use a tile cutter or wet saw to make precise cuts.
Allow the Adhesive to Set
Give the adhesive time to set and cure according to the manufacturer’s instructions. This is usually around 24 hours. Avoid disturbing the tiles during this time.
Apply Grout
Mix the grout according to the package instructions. Using a rubber float, spread the grout over the tiles at a 45-degree angle, pressing it into the gaps. Work in small sections and remove excess grout with the float.
Clean and Polish
After the grout has set for about 15-20 minutes, use a damp sponge to wipe off the excess grout from the tiles’ surface.
Seal the Grout
To prevent moisture and staining, apply a grout sealer after the grout has fully cured. Follow the manufacturer’s instructions and ensure good ventilation during application.
Final Touches

Reattach outlet covers and make any final adjustments. Step back and admire your newly tiled backsplash – a stunning addition to your space!
Maintenance Tips
- Clean the backsplash regularly with a mild cleaner and a soft cloth.
- Avoid using abrasive cleaners that could damage the tiles or grout.
- Check for any loose or cracked tiles and repair them promptly to prevent further damage.
FAQs
Can I tile over my existing backsplash?
Yes, you can tile over an existing backsplash, but it’s important to ensure the surface is clean, even, and in good condition.
Do I need special tools to cut tiles?
Yes, a tile cutter or wet saw is recommended for precise tile cutting, especially for edges and outlets.
How long does grout take to cure?
Grout usually takes about 72 hours to fully cure. Avoid excessive moisture during this time.
Can I use any type of tiles for a backsplash?
While most tiles can be used for backsplashes, it’s recommended to choose tiles that are moisture-resistant and easy to clean.
Conclusion
Tiling a backsplash is a creative and fulfilling project that can transform the look of your kitchen or bathroom. With the right materials, tools, and our step-by-step guide, you’ll be able to achieve a stunning backsplash that adds value to your space.Discover fascinating facts and interesting information at FactsFair Explore a wide range of topics at Main Home Start your journey today!
