
Introduction:
Drawing is a wonderful form of self-expression, and mastering the art of drawing various objects can be an exciting journey. In this article, we will delve into the intricacies of drawing a tie, a classic accessory that adds elegance and sophistication to any outfit. Whether you’re an aspiring artist or simply looking to enhance your drawing skills, this step-by-step guide will help you create a realistic and stylish tie on paper.
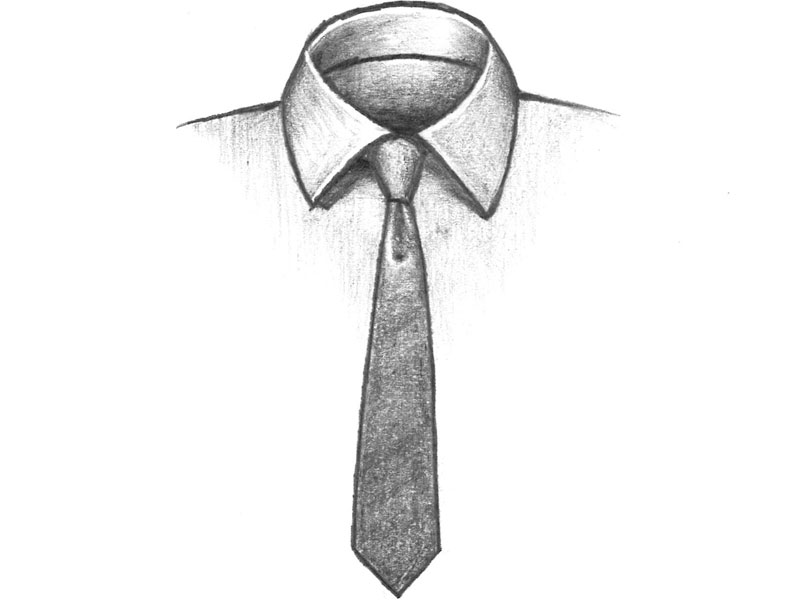
How to draw a tie
A Tie is a long, narrow piece of fabric that is worn around the neck, typically as part of formal attire. It can be made of a variety of materials, such as silk, cotton, or wool. Ties come in a wide variety of colours, patterns, and styles.
Materials Needed:
Drawing paper or sketchbook
Pencil (HB or 2B)
Eraser
Ruler
Fine-tip markers or coloured pencils
(optional)
Step 1: Basic Outline
Start by lightly sketching a vertical line in the centre of your paper. This line will serve as the backbone of your tie. Next, draw a small horizontal line at the top of the vertical line, creating the knot of the tie. This will be the starting point for our drawing.
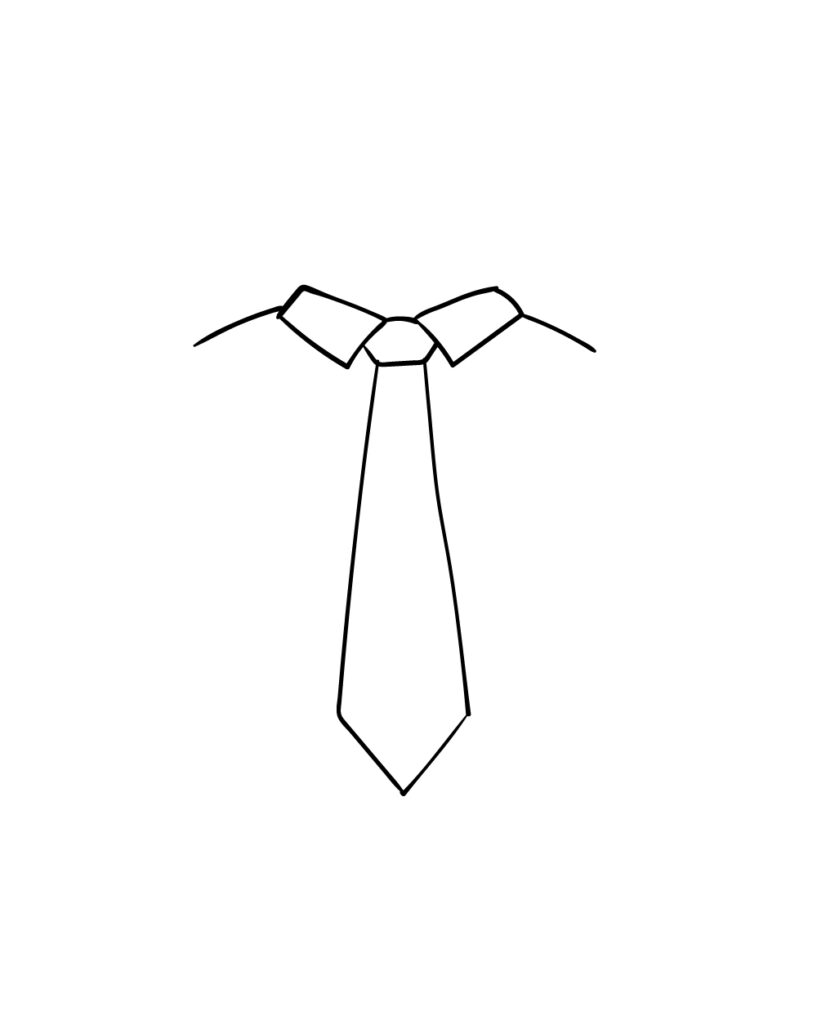
Step 2: Knot and Collar
From the horizontal line, draw two diagonal lines that converge towards the centre of the vertical line. These lines will form the collar of the tie. Extend the lines slightly beyond the vertical line to create the desired length of the collar. Next, draw a small triangle at the bottom of the collar lines to represent the knot of the tie. Ensure that the triangle is centred and proportionate to the collar.
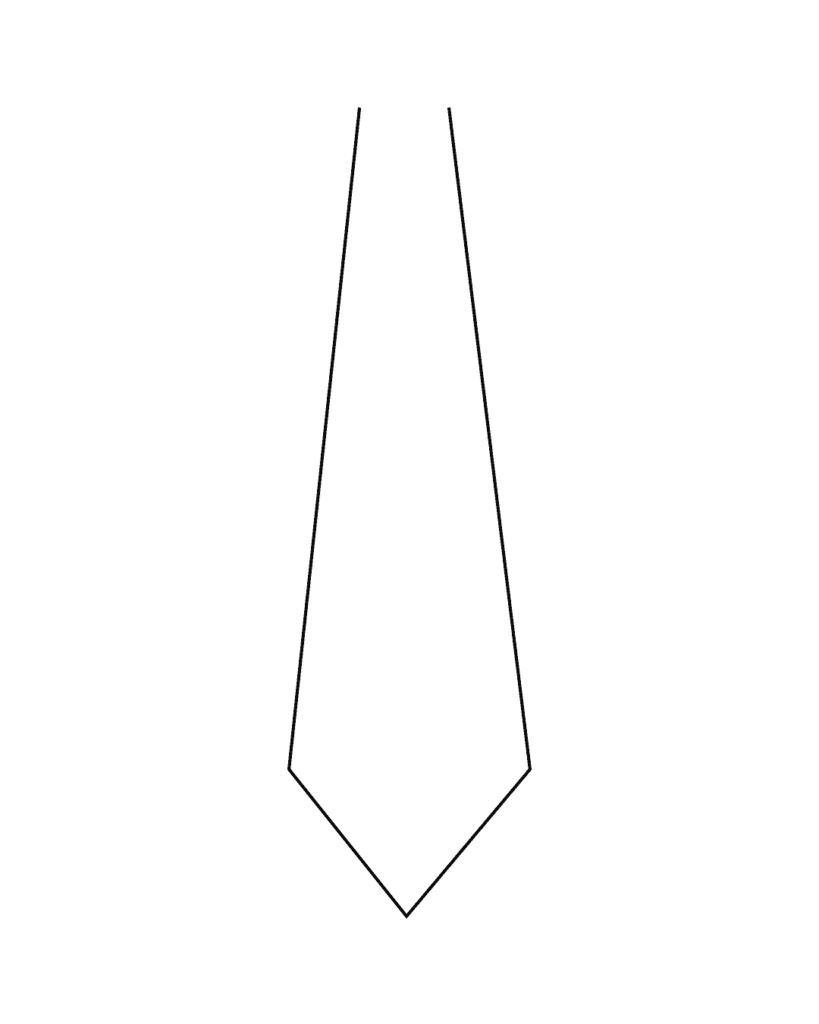
Step 3: Tie Body
To create the body of the tie, draw two diagonal lines that extend downwards from the knot. These lines should be slightly curved and gradually converge towards the bottom of the vertical line. The width of the tie body can vary depending on your preference, but it is generally wider at the top and tapers towards the bottom.
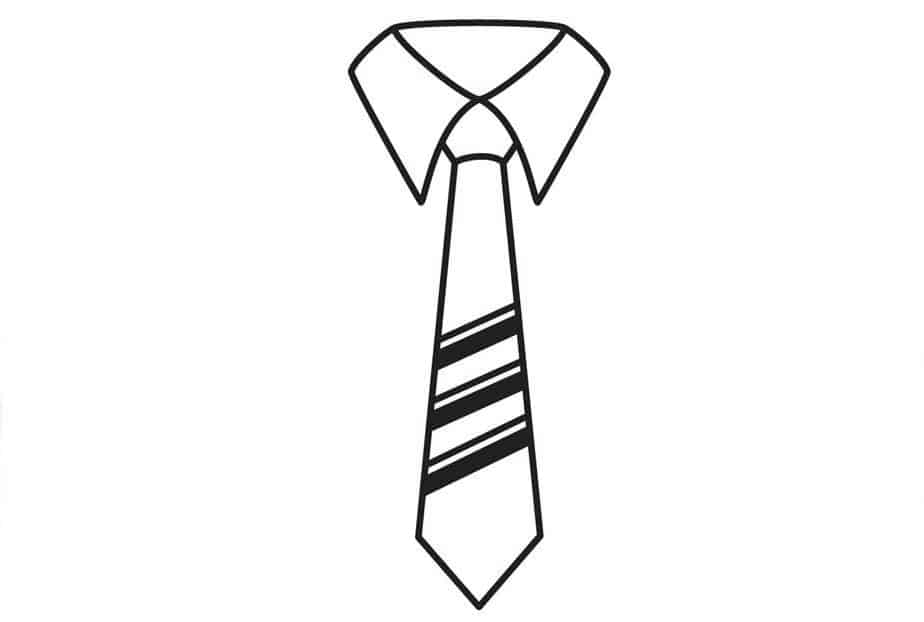
Step 4: Fold and Texture
To add depth and realism to your tie, draw a diagonal line across the tie body, slightly below the knot. This line represents the fold in the fabric. Next, draw a series of diagonal lines parallel to the fold line, starting from the knot and extending towards the bottom of the tie. These lines create the texture and folds in the fabric, giving your tie a three-dimensional appearance.
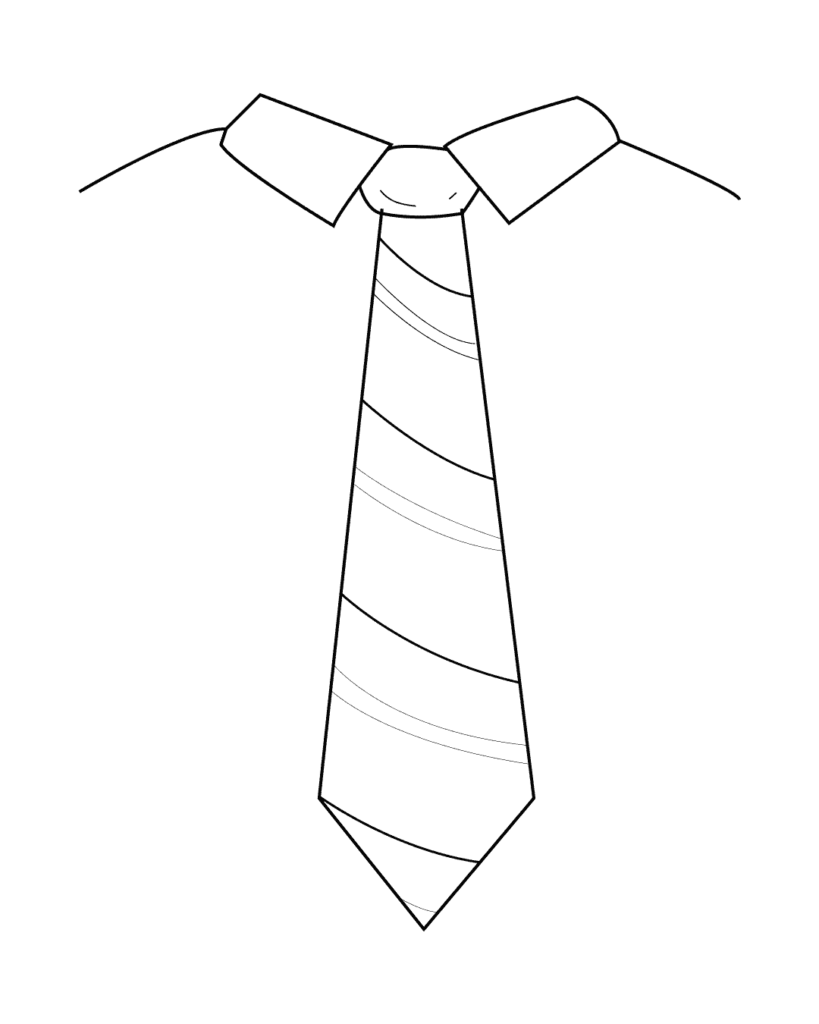
Step 5: Details and Finishing
Touches Now that the basic structure of the tie is complete, it’s time to add some details. Draw a small, curved line at the bottom of the tie to represent the tip. You can also add a subtle pattern or texture to the tie by drawing small diagonal lines or dots across the surface. Remember to erase any unnecessary guidelines and refine the shape of the tie as needed.
Step 6: Inking and Colouring (Optional)
If you prefer a more polished look, you can use fine-tip markers or coloured pencils to outline and color your tie. Start by carefully tracing over your pencil lines with a pen or marker, emphasizing the contours and details. Once the ink is dry, you can add colour using coloured pencils or markers. Experiment with different shades and patterns to bring your tie to life.

Conclusion:
Drawing a tie may seem challenging at first, but with practice and attention to detail, you can master this elegant accessory. Remember to take your time, be patient, and enjoy the process. By following this step-by-step guide, you’ll be able to create a realistic and stylish tie that adds a touch of sophistication to your artwork. So, grab your pencils and let your creativity soar as you embark on this artistic endeavour.Discover fascinating facts and interesting information at FactsFair explore a wide range of topics start your journey of knowledge today!